This help article is for an old version of Direct Mail.
Anchors provide an easy way for you to link to a specific section of your email newsletter. This can come in handy, for example, if you are building a table-of-contents section at the top of your email that contains links to different sections of the email down below. There are two parts to using anchors: creating an anchor, and linking to an anchor.
Creating an anchor
Before you can link to an anchor, you have to create the anchor. To create an anchor, click on the section of your email that you are going to end up linking to. You will see the following section editor appear:
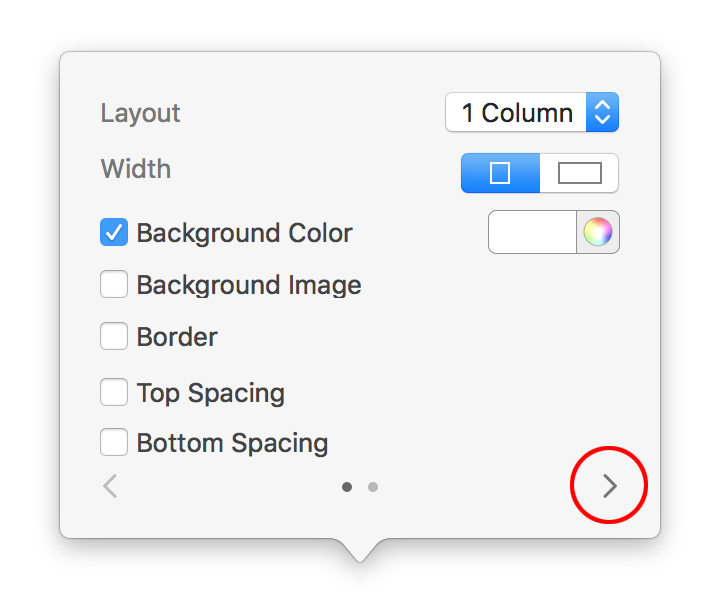
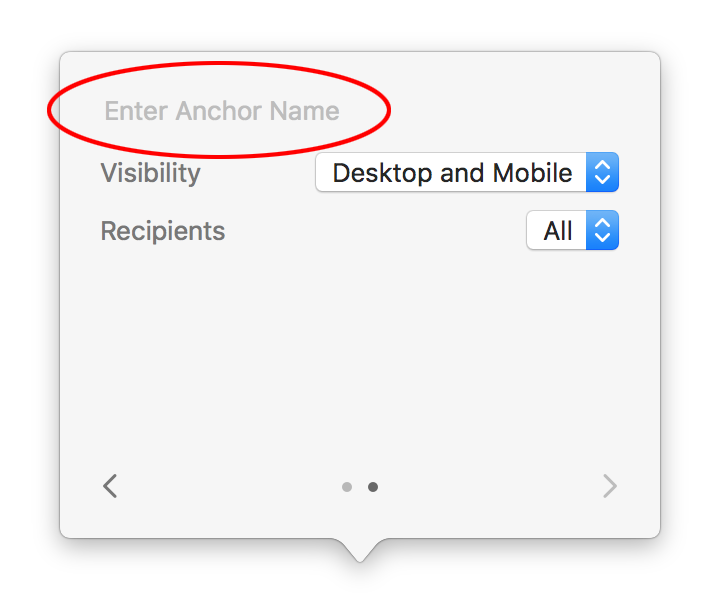
Click on the right-arrow to move to the second page of options. There you will see a place to enter the name of the anchor. Enter in a short name that you can remember when it comes time to create your link. For example, you could name your anchor "big-sale", if the section was about an upcoming sale.
Linking to an anchor
Now that you've created your anchor, you can create a link to it. This is done by creating a link just like normal. For example, you can highlight some text, and choose Edit > Add Link from the menu bar to create a link (or click the arrow button in the message editor toolbar). You will see this link editor appear:
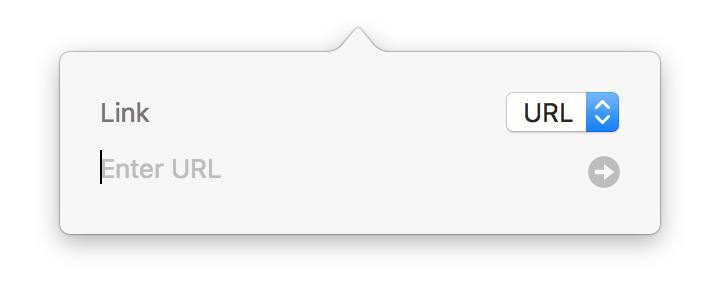
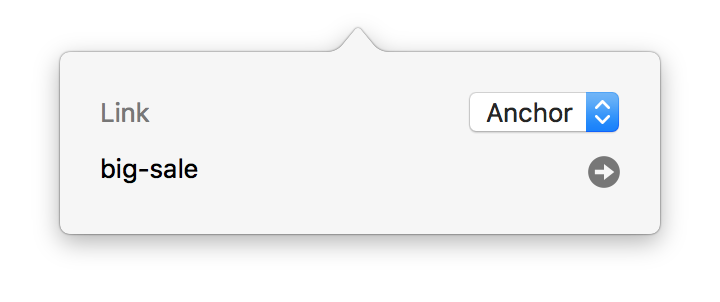
Change the link type from "URL" to "Anchor", and enter in the same anchor name that you used when you created the anchor (e.g. "big-sale").
Previewing your anchor
That's all there is to it. You can try out your anchor in the Preview window to make sure it is working correctly.